Practical Guide to Kubernetes Gateway API: Setup, Use Cases, and Best Practices
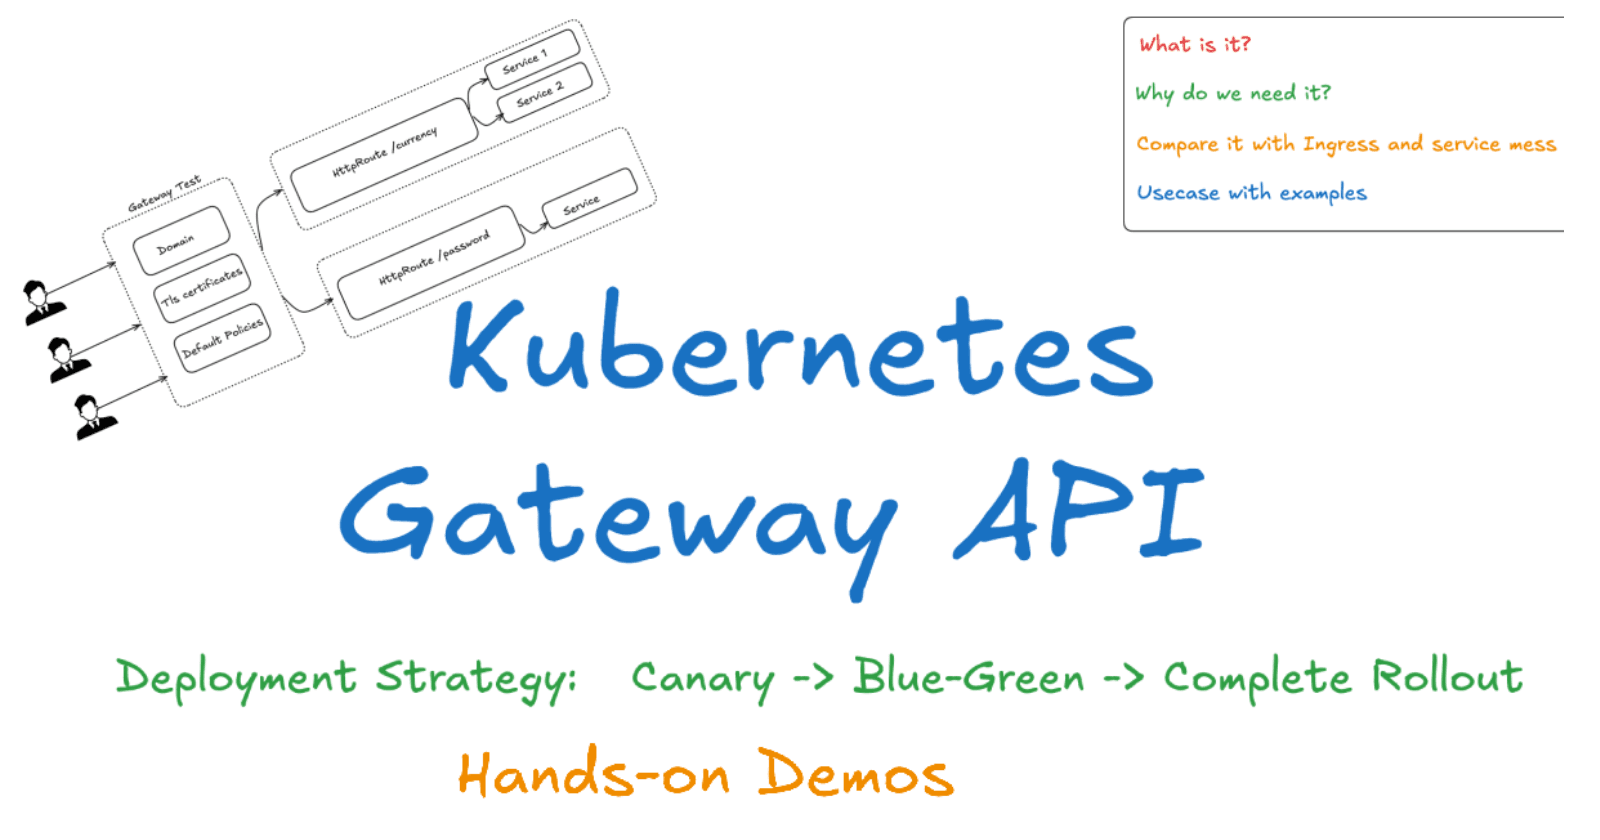
Let’s see today’s agenda first.

Let’s start with a What?
The Gateway API is a Kubernetes CRD that provides a consistent way to configure and manage API gateways. It defines a set of resources that can be used to create and configure gateways, routes, and listeners.
It was boring textbook definition 😛
For me : Ingerss + Service mesh = Gateway Api (Sometimes, It is more than it)
Now Let’s see “Why” Part?
It is Role based
It is portable.
It is Expressive
It is Extensible
You will get to know about above feature further. Before moving further , Let’s see It’s architecture so you get to know it’s first feature(Role based)
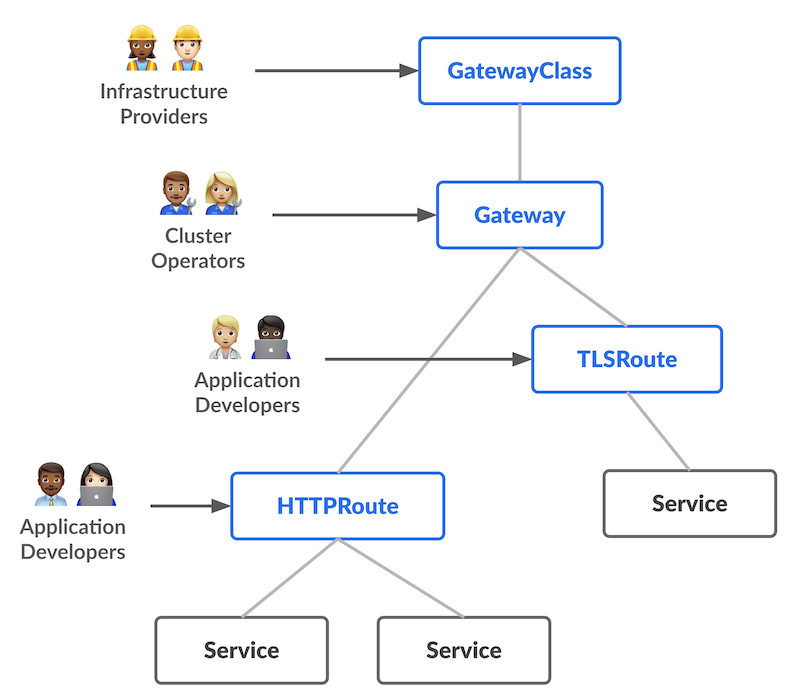
I hope it is clear from above image that How gateway api components will be developed/setuped by different people in team.
Now Let’s compare it with Ingress and service mesh
While the Gateway API shares similarities with Ingress and Service Mesh in managing API traffic, there are key differences to note:
Ingress: Ingress serves as a Kubernetes resource that exposes services running within a Kubernetes cluster to the external world. It offers load balancing, SSL termination, and authentication capabilities.
Service Mesh: A service mesh is a network of proxies that facilitate API traffic management. It provides features like load balancing, fault tolerance, and observability.
The Gateway API goes beyond Ingress and Service Mesh by providing a comprehensive solution for API traffic management. It encompasses not only load balancing and SSL termination but also authentication, authorization, and rate limiting. Moreover, its extensibility allows users to tailor the Gateway API to their specific requirements.
Let’s move very fast from these boring theories to it’s usecase with examples.
I will be using GKE for all demo, but you will can setup your choice of your gateway api using just few lines of command from documentation.
For GKE, run following command to enable gateway api.
 gcloud container clusters update CLUSTER_NAME \
    --location=CLUSTER_LOCATION\
    --gateway-api=standard

By default , It creates 4 gateway classes.

You can know more about more gateway classes from here.
First Use case: Multiple applications behind a single Gateway

Let’s create our first Gateway.
apiVersion: gateway.networking.k8s.io/v1
kind: Gateway
metadata:
  name: my-gateway
spec:
  gatewayClassName: gke-l7-gxlb
  listeners:
  - name: http
    protocol: HTTP
    port: 80

It will take time to create load balancer, once it will create it populate in address field of gateway.

For demo , we will deploy one application with this command.
k run app1 --image patelajay745/go-sample-app:v1

k run app2 --image patelajay745/go-sample-app2:v1

k expose pod app1 --port=8080 --target-port=8080 --name=app1-svc

k expose pod app2 --port=8081 --target-port=8081 --name=app2-svc


Now let’s create HttpRoute for both application.
apiVersion: gateway.networking.k8s.io/v1
kind: HTTPRoute
metadata:
  name: app-route
spec:
  parentRefs:
  - name: my-gateway
  hostnames:
  - 34.54.169.176
  rules:
  - matches:
    - path:
        type: PathPrefix
        value: /app1
    backendRefs:
    - name: app1-svc
      port: 8080
  - matches:
    - path:
        type: PathPrefix
        value: /app2
    backendRefs:
    - name: app2-svc
      port: 8081

If you visit your http:IP-Address/app1 ,

http:IP-Address/app2

Now Let’s see how gateway api can be useful in different deployment strategy
Canary traffic rollout

For Demo, I have two application.
k run app1 --image patelajay745/go-system-stats:v1                                                      ─╯

k run app2 --image patelajay745/go-system-stats:v2

# we will be using same service for this demo


HttpRoute File:
apiVersion: gateway.networking.k8s.io/v1
kind: HTTPRoute
metadata:
  name: app-canary-route
spec:
  parentRefs:
  - name: my-gateway
  hostnames:
  - 34.54.169.176
  rules:
  - backendRefs:
    - name: app1-svc
      port: 8080
  - matches:
    - headers:
      - name: env
        value: test
    backendRefs:
    - name: app2-svc
      port: 8080
Now if you check your Load balancer IP: You will see version 1 of your application

To check v2 you need to send header “env=test”

After testing internally with specific header, It is time to rollout. It's desirable to shift a small percentage of the traffic to the new Service for gradual and more realistic testing.
Blue-green traffic

Before writing out httpRoute, we need to change out gateway also as we used “gke-l7-gxlb” above which does not support multiple backend for default “/”. For that we need to use “gke-l7-global-external-managed” gateway class.
Gateway file:
apiVersion: gateway.networking.k8s.io/v1
kind: Gateway
metadata:
  name: my-second-gateway
spec:
  gatewayClassName: gke-l7-global-external-managed
  listeners:
  - name: http
    protocol: HTTP
    port: 80
HttpRoute File:
apiVersion: gateway.networking.k8s.io/v1beta1
kind: HTTPRoute
metadata:
  name: app-blue-green-route
spec:
  parentRefs:
  - name: my-second-gateway
  hostnames:
  - 34.54.169.176
  rules:
  - backendRefs:
    - name: app1
      port: 8080
      weight: 90
    - name: app2
      port: 8080
      weight: 10
Now if you hit your Ip address then it will 90% redirect traffic to app1(v1) and 10% to app2(v2).
Now it is time to complete rollout and It is simple.
HttpRoute:
apiVersion: gateway.networking.k8s.io/v1beta1
kind: HTTPRoute
metadata:
  name: app-blue-green-route
spec:
  parentRefs:
  - name: my-second-gateway
  hostnames:
  - 34.54.169.176
  rules:
  - backendRefs:
    - name: app1
      port: 8080
      weight: 0
    - name: app2
      port: 8080
      weight: 1
That was all for rolling strategy in kubernetes.
Wait traffic splitting is just one of the features of gateway api. This is not over. We will see more demos of other features of gateway api.
Stay tuned for second blog of this amazing gateway api. Till then keep reading official document 😛


